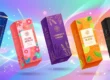
Packaging Prototypes: Why Sampling Is Crucial Before Full-Scale Production
If you think about packaging, your brain might already go directly to shiny boxes on store shelves or chic pouches delivered to a customer’s doorstep. But what most new brands forget is the crucial middle phase between concept and manufacturing: packaging prototypes.
Prototyping may seem like a “nice-to-have” or even an unnecessary delay in your timeline — especially when you’re excited to launch — but skipping this step is one of the biggest (and costliest) mistakes brands make.
In this comprehensive, we’ll explore:
- What packaging prototypes are
- Why sampling is essential before full-scale production
- Key benefits of prototyping (material testing, design accuracy, functional evaluation)
- Types of prototypes and how to request them
- Real-life situations where prototyping came to the rescue
- Best practices before approving your final packaging
What is a Packaging Prototype?
A packaging prototype is a tangible replica of your desired packaging — produced in small batches — before ordering large-scale bulk production.
It helps you assess:
- Structural adequacy (will it keep your product safe?)
- Aesthetics (does it reflect your brand and design?)
- Material quality (is it premium, sustainable, or budget-friendly?)
- Print accuracy (are your colors, fonts, and graphics clear?)
- Fit and function (does your product fit well inside?)
Think of it as a test drive before buying the car — but for your packaging.
Why Prototyping Before Full Production Is Crucial
Here’s why every growing business — whether you’re launching a cosmetic line, a food brand, or an electronics gadget — should never skip the prototyping phase.
1. Reduce Risk of Costly Errors
Once you order bulk packaging, it’s irreversible. If it’s botched — e.g., a typo, bad color match, or incorrect sizing — it might run you thousands in reprints, lost time, or worse, product recalls.
Prototyping lets you find errors when it is still affordable to correct them.
Typical issues detected with sampling:
- Imprecise dimensions (product won’t fit correctly)
- Colors print darker/lighter than intended
- Barcode too small to read
- Illegible text or running into folds
- Design faults (box crumples when loaded)
2. Verify Material Selections
You may select kraft paper for green appeal, or gloss-laminated cardboard for high-end feel. But until you get your hands on and can try the actual sample, you’ll never know how that material interacts with your product.
Important things you can determine via prototyping:
- Longevity – Will the material survive transit and handling?
- Feel and texture – Is it cheap or high-end in hand?
- Water resistance – Particularly for food or cosmetics
- Printing compatibility – Not all materials print the same
Lab data is good, but actual testing is better.
3. Get Your Packaging Design Just Right
Colors might look different on screens than in print. Fonts can look wonderful in digital format but be illegible when printed tiny. A prototype will enable you to identify shortcomings that mockups will not expose.
Design problems are typically solved at the prototyping level:
- Optimizing font sizes to be more readable
- Correcting logo positioning that was too close to the edge
- Enhancing color saturation to be more brand-compatible
- Inserting or subtracting white space to make the layout balanced
Design isn’t done until it’s viewed, felt, and experimented with in a physical state.
4. Get Proper Product Fit and Function
Inadequate box or pouch size can result in:
- Products tossing about (damage risk)
- Wasted filler material
- Clumsy customer unboxing experience
- Ineffective storage and shipping logistics
Questions a prototype solves:
- Does the product fit snugly and securely?
- Is the box simple to open and re-close?
- Do inserts, trays, or compartments work together?
- Will this packaging survive shipping?
Your product is worth a packaging experience that is deliberate—not winged.
5. Customer Experience and Shelf Test
Many savvy brands test focus groups or give prototypes to loyal fans or influencers before launching. Immediate, honest feedback on touch, usability, and design appeal is priceless.
You can find out:
- Is the packaging an extension of the brand’s personality?
- Is it clear and compelling messaging?
- Does it pop on a shelf or Instagram feed?
- How simple is it to reuse or recycle?
You don’t only design for your product—you design for your customer.
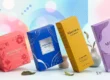
Types of Packaging Prototypes
Depending on what you need and can afford, there are a few ways to prototype:
Prototype Type | Description | Best For |
White Dummy | Unprinted sample with just structure | Testing size & fit |
Digital Mockup | Printed on basic material, lower cost | Reviewing layout & visuals |
Full Production Sample | Made on final material with real finish | Final sign-off before mass run |
3D Render | Digital 3D visualization | Pitching to investors or planning |
For the majority of brands, investing in a full production sample is worthwhile prior to a big packaging run.
Real-World Example: When Sampling Saved a Brand
A niche tea startup needed sustainable kraft pouches with a reseal zipper. They did not sample and ordered 10,000. Upon delivery:
- The zipper was flimsy and would not seal properly
- Logo printed too heavily on kraft and was not easily visible
- Edges of pouches would tear when filled
They wasted the majority of the order and pushed launch out 6 weeks. A $200 prototype would have avoided a $6,000 error.
Best Practices When Ordering a Packaging Prototype
Making a packaging prototype is not merely about getting an early glance — it’s to verify usability, look, and functionality before proceeding with a full production batch.
This is how to maximize your investment in the prototype:
1. Include Accurate Dielines and Artwork
“The cornerstone of a flawless prototype is accuracy.”
And before it even goes to print, you require an accurate dieline — a technical document that illustrates the precise dimensions, folds, cuts, glue spaces, and bleed areas of your packaging.
Why it matters:
- Ensures design elements are correctly aligned with flaps, windows, and folds
- Prevents design cut-offs, misprints, or skewed logos
- Assists printers in producing accurate samples, lessening miscommunication
Pro Tip:
Collaborate with a competent packaging designer who knows how to place artwork onto a dieline. Always see a digital mockup prior to approving production.
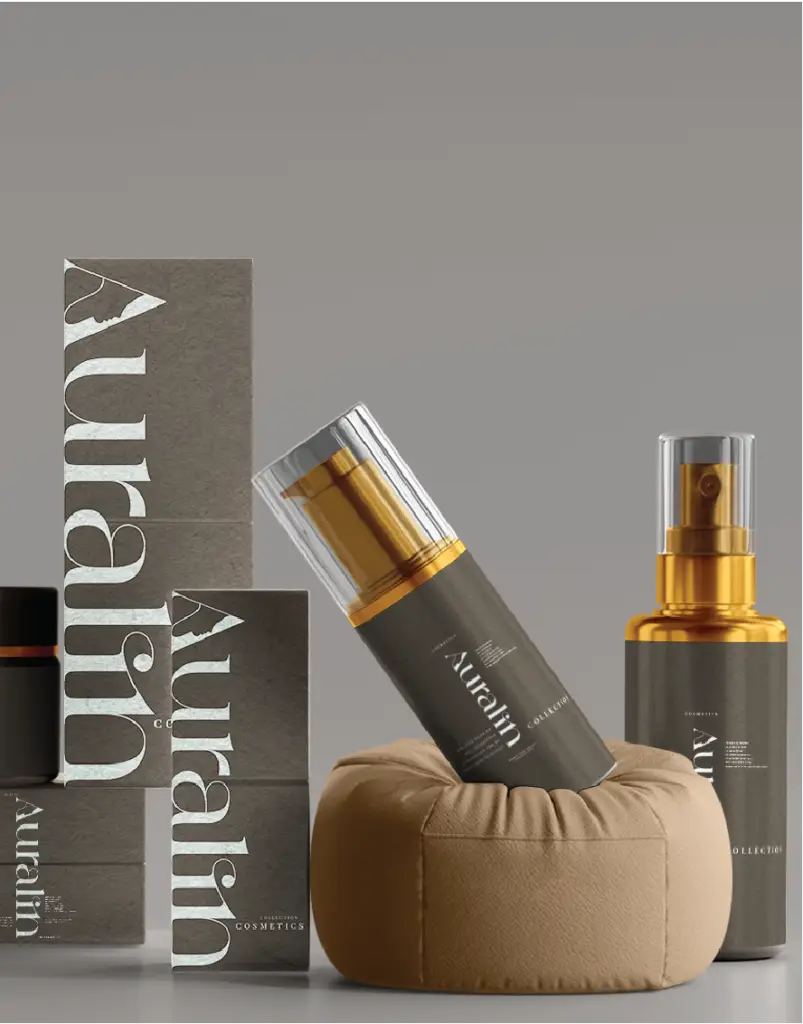
2. Ask for Prototypes in Final Materials and Finishes
“A glossy PDF isn’t a substitute for a real-life, touchable experience.”
Most suppliers provide digital proofs or lower-cost mockups printed from alternate stock. Although these are fine for initial concepting, they do not accurately represent how the finished product will feel or perform.
Why it matters:
- Textures such as matte vs. gloss significantly alter the visual and tactile experience
- Specialty items such as foil stamping, embossing, or UV spot can’t be critiqued digitally
- Color print can change by material (kraft, recycled board, plastic, etc.)
Pro Tip:
Always ask for at least one production-quality prototype — with your specific material, finish, and print process — to make actual-world judgments.
3. Test with Real Products
“Form follows function — and the only way to test function is with the real deal.”
A box that appears perfect when empty may bulge, rip, or cave in when your actual product is within it. That’s the reason why prototyping without testing with real products is dangerous.
Why it matters
- Ensures your product sits tightly without too much void space
- Assists in testing closures (zippers, seals, flaps) under real weight
- Shows if inserts, padding, or trays are required for protection
Pro Tip:
Fill your prototype as if it were shipped in production. If liquid, test for leaks. If delicate, shake it to simulate transit conditions.
4. Test Real Conditions
“Design for the shelf, but test for the journey.”
Packaging isn’t isolated. It gets shipped, stacked, stored, dropped, squeezed, and shelved. You want to see how your prototype behaves in these real-world situations.
What to test:
- Drop test: Does it burst or retain its form?
- Stack test: Can it support the weight of additional units?
- Moisture test: If it becomes humid or gets wet, does the label delaminate?
- Shipping test: Send one to yourself. What shape is it in when you get it?
Pro Tip:
Use your prototype to conduct a brief fulfillment simulation with your team. Even a simple test can expose packaging weak spots early.
5. Collect Objective Feedback
“You already love your design — but what do others see?”
Once you have a prototype, don’t merely admire it — share it. Feedback from unbiased eyes (customers, team members, even friends) can reveal design flaws or usability issues you missed.
Ask yourself:
- Is the brand message conveyed at a glance?
- Is it simple to open and shut?
- Would you pay extra based on this packaging?
- Does it look premium, sustainable, playful, or whatever your brand delivers?
Pro Tip:
Save this stage to try the unboxing experience too — from outer pack to inserts to product unveiling. Bonus: Ask 1–2 influencers for reactions on camera!
6. Use It for Marketing Prep
A prototype is not for testing purposes only — it’s your marketing tool.”
When your prototype is appearing and feeling good, leverage it to build marketing collateral before launching. Authentic photos and videos of your packaging can increase customer trust and expectation.
How to utilize it:
- Photograph for website, product pages, Amazon listings
- Shoot unboxing videos for Instagram Reels, TikTok, YouTube Shorts
- Use it in pitch decks for retailers, investors, or distributors
- Share teaser shots with email subscribers or social media fans
Pro Tip:
Print at least 3–5 prototypes so you have some for marketing shoots, drop tests, and stakeholder presentations.
Conclusion
When it comes to getting to market fast, it’s easy to want to cut corners. But packaging prototypes are not something you can opt out of — they’re a must. They save your budget, guarantee quality, and improve customer experience.
Spending money on prototyping translates to:
- Less surprise in production
- Improved brand exposure
- Increased customer satisfaction on day one
For in packaging, as in branding, what you see, touch, and feel counts.
And always better to try before you regret.